DIY Guide: Step-by-Step Instructions for Building Your Own Utility Trailer
Building a utility trailer can be a great project for anyone looking for a cost-effective way to transport large or bulky items. A utility trailer can be used for a variety of purposes, including hauling furniture, landscaping supplies, or even camping gear. The process of building a utility trailer can be broken down into a few key steps, which we will outline in this article.
Step 1: Determine the Size and Type of Trailer
The first step in building a utility trailer is to determine the size and type of trailer you want to build. This will depend on your specific needs and the type of vehicle you plan to tow the trailer with. Some common types of utility trailers include:
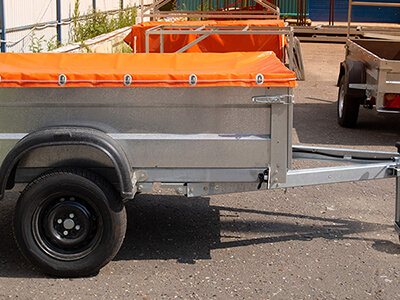
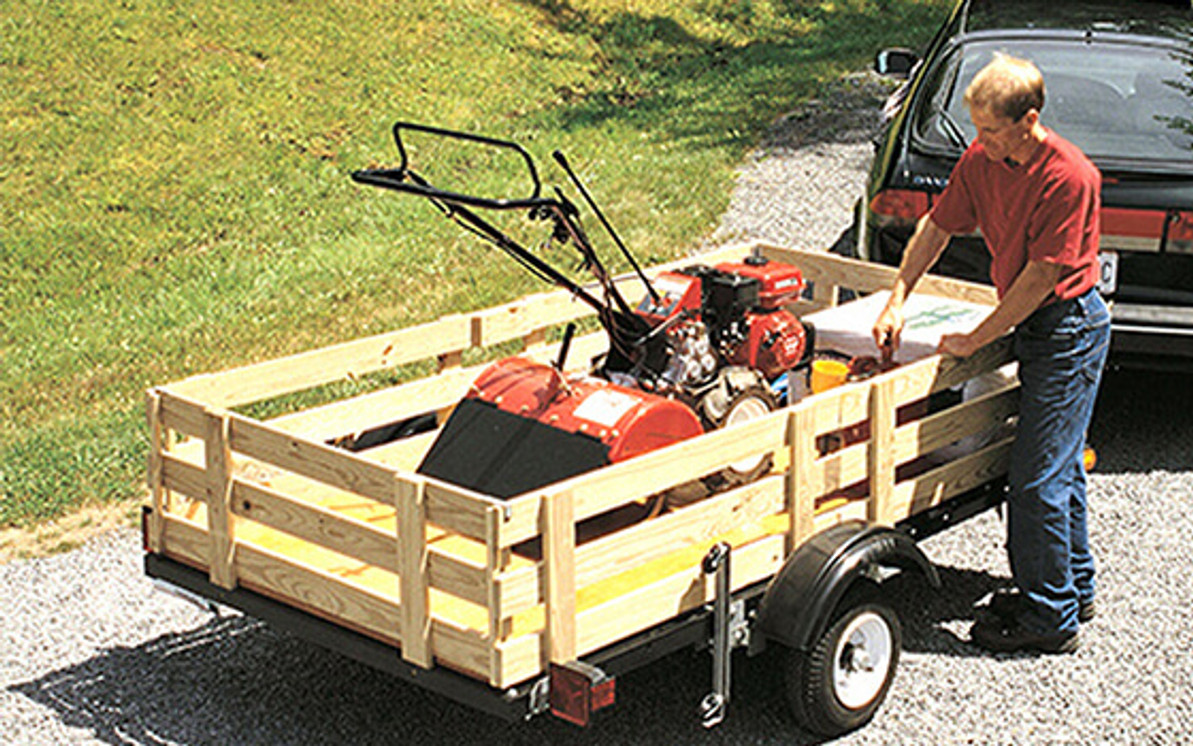
- Flatbed trailers: These trailers have a flat surface and are ideal for carrying large or bulky items.
- Enclosed trailers: These trailers have a fully enclosed design and are ideal for carrying valuable or fragile items.
- Dump trailers: These trailers have a hydraulic lift system that allows you to dump the contents of the trailer easily.
Once you have decided on the type of trailer you want to build, you will need to determine the size of the trailer. This will depend on the size of the items you plan to transport and the towing capacity of your vehicle. Be sure to check your vehicle's owner's manual for its maximum towing capacity before you begin building your trailer.

Step 2: Gather Your Materials
The next step in building a utility trailer is to gather your materials.
You will need the following:
- Trailer frame: You can purchase a trailer frame kit or build your own frame from scratch using steel tubing.
- Axle and wheels: You will need to purchase an axle and wheels that are compatible with your trailer frame. You can also purchase a wheel and axle kit that includes everything you need.
- Suspension: You will need to install a suspension system to ensure that your trailer can handle the weight of the items you plan to transport.
- Coupler: You will need a coupler to connect your trailer to your vehicle's hitch.
- Lights and wiring: You will need to install lights and wiring on your trailer so that it is visible to other drivers when you are towing it.
- Decking: You will need to install a decking material on the trailer floor. This can be made from wood, steel, or aluminum.
- Hardware: You will need various bolts, nuts, and other hardware to assemble your trailer.
Step 3: Build the Trailer Frame
The next step is to build the trailer frame. If you have purchased a trailer frame kit, follow the manufacturer's instructions to assemble the frame. If you are building your own frame, you will need to cut the steel tubing to the appropriate length and weld the pieces together. Be sure to check the frame for squareness and make any necessary adjustments before proceeding to the next step.
Step 4: Install the Axle and Wheels
The next step is to install the axle and wheels. If you have purchased a wheel and axle kit, follow the manufacturer's instructions to install the axle and wheels. If you are installing the axle and wheels separately, you will need to position the axle in the correct location on the trailer frame and secure it with U-bolts or other hardware.
Step 5: Install the Suspension
The next step is to install the suspension system. This will typically involve installing leaf springs or torsion bars on the axle to support the weight of the trailer. Follow the manufacturer's instructions to install the suspension system correctly.
Step 6: Install the Coupler
The next step is to install the coupler. The coupler is the device that connects the trailer to your vehicle's hitch. Follow the manufacturer's instructions to install the coupler correctly. Be sure to test the coupler to ensure that it is securely attached to the hitch.
Step 7: Install Lights and Wiring
The next step is to install lights and wiring on your trailer. This is important for safety reasons, as it will make your trailer visible to other drivers when you are towing it. You will need to install taillights, brake lights, and turn signals, as well as running lights if desired. Follow the manufacturer's instructions to install the lights and wiring correctly.
Step 8: Install the Decking Material
The next step is to install the decking material on the trailer floor. This can be made from wood, steel, or aluminum, depending on your preference. If you are using wood decking, be sure to seal it to prevent rot and decay. If you are using steel or aluminum decking, you may want to add a non-slip surface for added safety.
Step 9: Install Hardware
The final step is to install any remaining hardware, such as bolts, nuts, and other fasteners. Be sure to use high-quality hardware that is appropriate for the weight and size of your trailer. Double-check all of your work to ensure that everything is secure and in good working order.
Once you have completed these steps, your utility trailer should be ready for use. Be sure to test it out before loading it up with heavy items to ensure that it can handle the weight. It's also a good idea to check the trailer regularly for signs of wear and tear and to perform routine maintenance, such as greasing the wheel bearings and checking the tire pressure. Check out this article from Popular Mechanics on how to build a utility trailer from a kit steps.
Building a utility trailer can be a challenging but rewarding project that will provide you with a versatile and cost-effective way to transport large or bulky items. With the right tools and materials, and a little bit of know-how, you can build a trailer that will serve you well for years to come.
Recent Posts
-
Lawn and Garden Tire Information
Spring is here, which means it's time to bring out the lawn tractor and get the yard ready for warme …Mar 24th 2025 -
Snowmobile Trailer Tips
When the snow starts to fall, you may be itching to hop on your sled and hit the trails. However, be …Jan 6th 2025 -
Keep Your Golf Cart on Course - A Guide to Golf Cart Maintenance
Golf carts are a useful and convenient mode of transportation for leisure and for work …Sep 30th 2024


